Shoe Quality Inspection Before Shipment: A Practical Buyer Checklist
Pre-shipment inspection is the last quiet moment before shoes leave the factory. Once cartons are loaded, every small mistake becomes harder and more expensive to fix.
For a private label buyer, this is not just a factory routine. It is the point where you check whether the finished shoes still match the approved sample, the order details, the logo artwork, the size run, the packaging file, and the promise you made to your customers.
This guide is written for buyers who do not inspect shoes every day but still need a practical way to review quality before approving shipment.
Start with the approved sample, not your memory
The approved sample is the reference. A phone photo from two months ago is not enough. Before inspection, put these files in one place:
- Approved physical sample or approved sample photos.
- Final shoe tech pack or specification sheet.
- Confirmed order quantity, color split, and size ratio.
- Logo artwork and placement notes.
- Box label, barcode, packaging, and carton mark files.
- Any written changes agreed after sample approval.
If these references are scattered across old messages, the inspection becomes guesswork. A good factory can help, but it cannot read a buyer's mind. Keep the latest approval record clear.
When should shoes be inspected?
For most first orders, buyers should care about three checkpoints.
- Before production: check materials, components, logo setup, packaging files, and the approved sample.
- During production: check early pairs while there is still time to correct repeated problems.
- Before shipment: check finished shoes, packed quantity, labels, cartons, and shipping readiness.
The pre-shipment inspection is the final acceptance step, but it should not be the first time anyone checks quality. If your order is new, complex, or high value, ask for production photos earlier, not only at the end.
What AQL means in plain language
You may hear the term AQL during inspection. It means Acceptable Quality Limit. In simple language, AQL is a sampling method. Instead of opening every carton and checking every pair, the inspector checks a selected number of pairs and decides whether the lot passes based on defect limits.
AQL is useful, but it is not magic. Before inspection, the buyer and factory should agree what counts as a critical, major, or minor defect.
- Critical defect: unsafe, illegal, or unusable problem. Shipment should not be approved.
- Major defect: obvious issue that affects selling, wearing, fit, branding, or customer acceptance.
- Minor defect: small issue that does not seriously affect use or appearance.
A light glue mark hidden inside the shoe is not the same as outsole separation. A slightly uneven carton edge is not the same as a wrong barcode. Define the difference before the inspection starts.
Eight areas to check before shipment
A practical shoe inspection does not need fancy language. It needs careful eyes and a steady checklist.
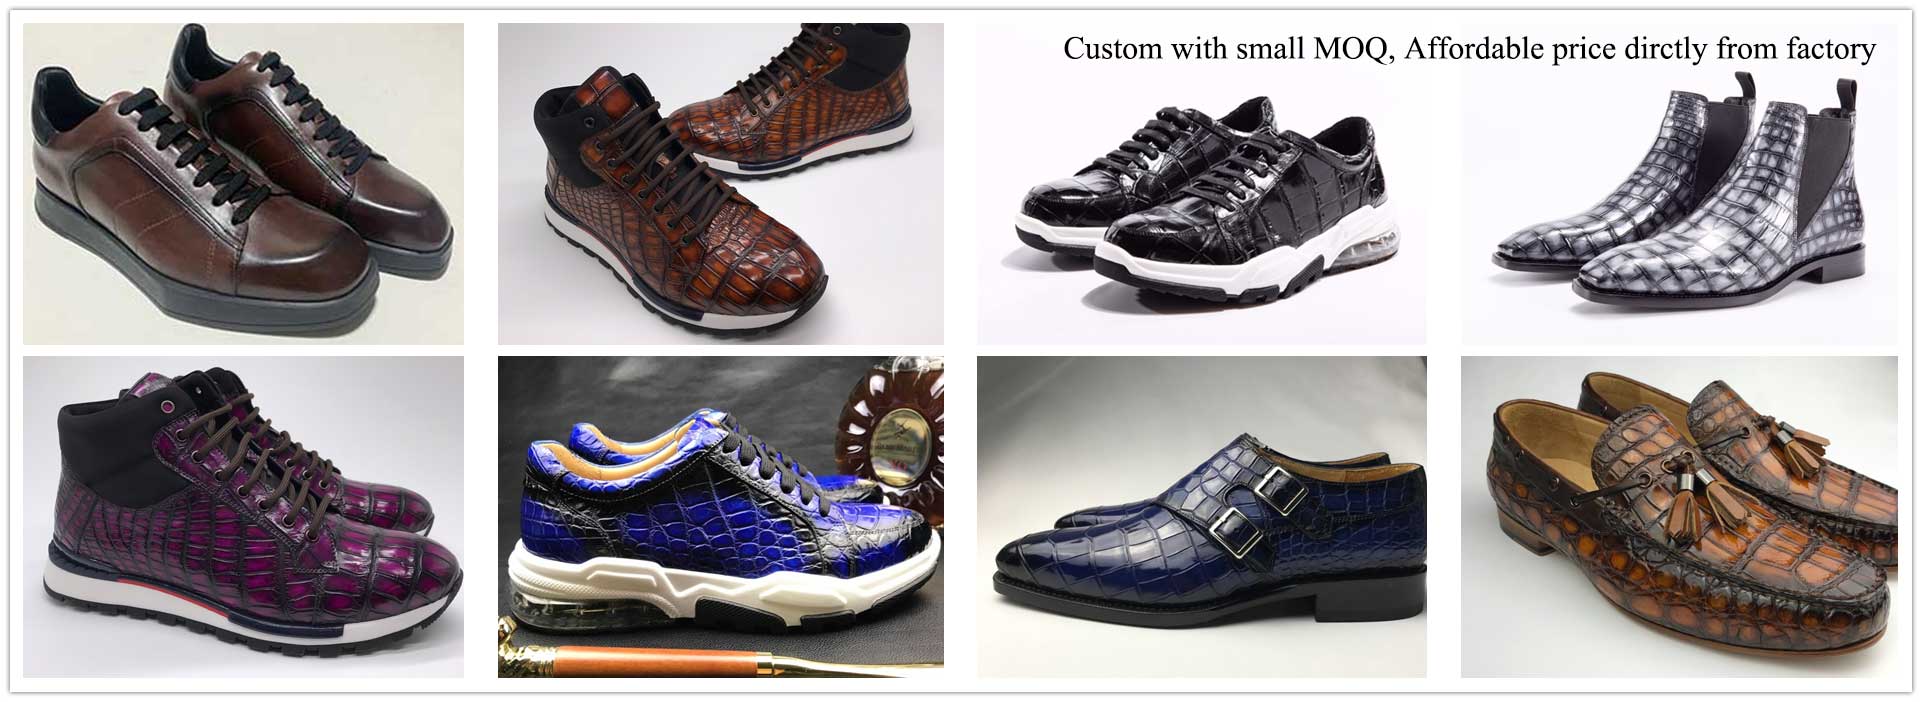
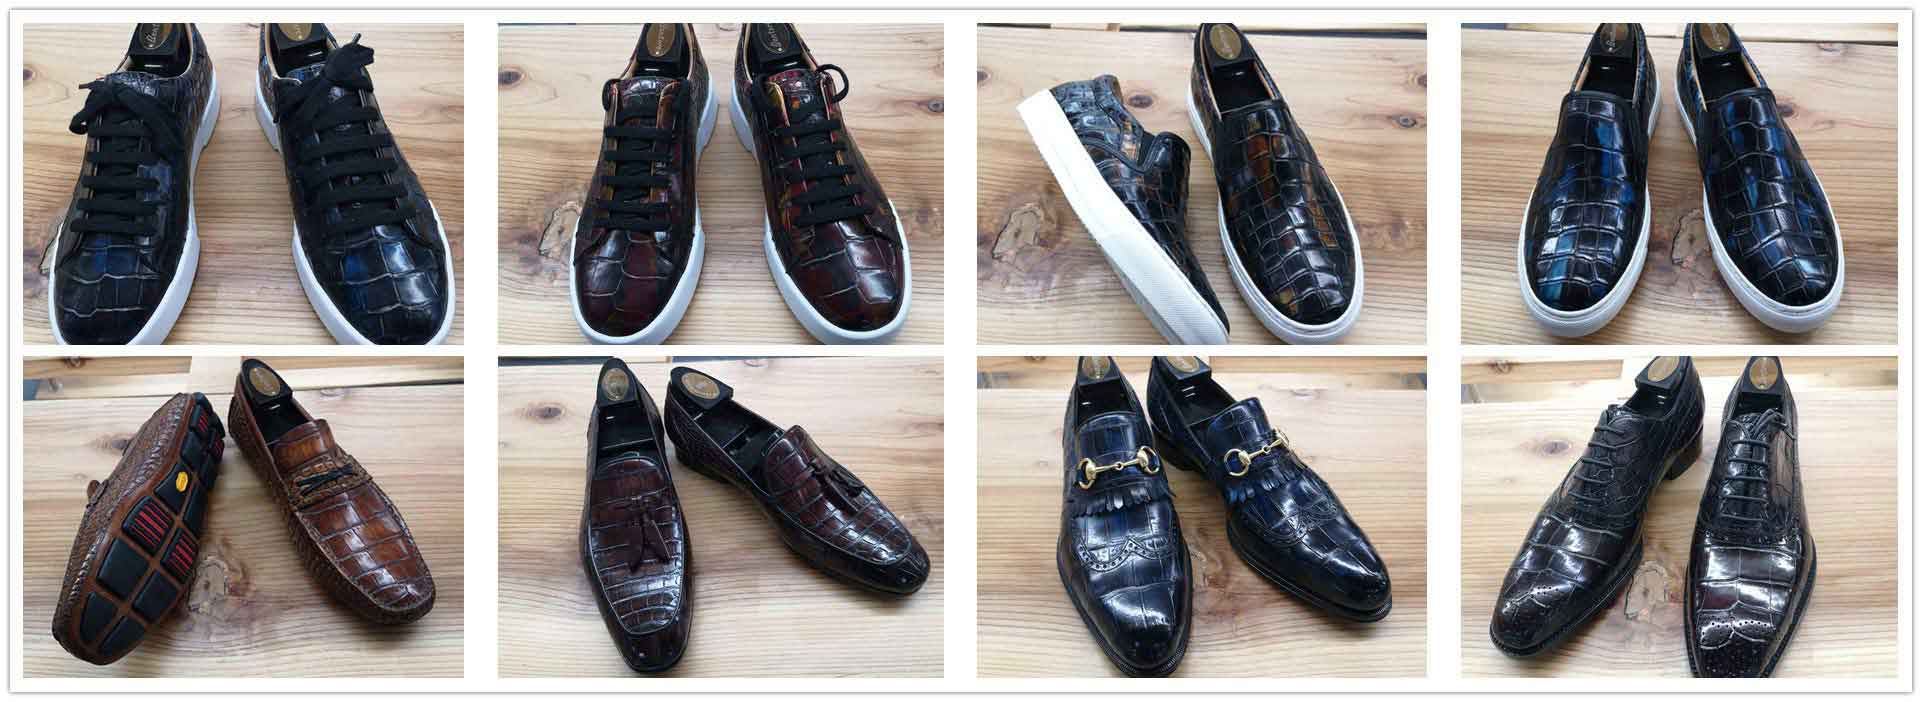
1. Overall pair appearance
Look at each pair as a customer would see it. Check whether the left and right shoes match in shape, height, color, toe curve, heel position, and general balance. Shoes can pass individual part checks and still look wrong as a pair.
2. Upper material and color
Check leather grain, textile texture, synthetic surface, mesh, suede nap, or any special finish. Look for scratches, stains, color difference, wrinkles, loose fibers, or material that feels different from the approved sample.
For leather shoes, small natural variation can be acceptable, but large mismatched panels should be discussed before shipment.
3. Stitching and workmanship
Check loose threads, skipped stitches, uneven seam lines, broken stitches, messy trimming, crooked panels, and rough edges. A few loose thread ends may be cleaned. Repeated crooked stitching is a production issue.
4. Sole bonding and bottom quality
Sole bonding is one of the most important checks. Look for open glue lines, lifting edges, weak bonding, poor pressing, outsole warping, or visible glue overflow.
For custom sneakers, also check outsole alignment and whether the shoe sits flat. A pair that rocks on the table may create comfort complaints later.
5. Size, fit, and left-right symmetry
Check the size label first, then measure selected pairs. Insole length, outsole length, width, heel height, and opening can be checked against the specification sheet. The left and right shoes should not feel like they came from different size runs.
If fit was sensitive during development, review the sample approval record and make sure the bulk production did not drift away from the approved fit.
6. Logo and brand details
Check tongue logo, insole logo, side logo, heel logo, outsole logo, metal logo, woven label, hang tag, box logo, and care card. Confirm position, color, spelling, spacing, and print clarity.
A logo mistake is painful because the shoe may be physically wearable but commercially hard to sell.
7. Packaging and labels
Packaging is part of the product. Check box quality, box size, tissue paper, dust bag, barcode, SKU, color name, size mark, country label, carton mark, and carton quantity.
For retail or marketplace orders, wrong labels can create warehouse rejection, customer confusion, or relabeling costs. Do not treat labels as a small detail.
8. Cleanliness, smell, and finishing
Open a few pairs and smell them. Strong chemical smell, damp packaging, dirty insoles, dust, glue lumps, or foreign objects inside the shoes should be recorded. Clean finishing is often what makes a buyer feel the order is under control.
QC photos buyers should request
If you are not standing inside the factory, photos matter. Ask for practical photos, not only nice-looking pictures.
- Pair photos: front, side, back, top, bottom, and inside view.
- Close-up photos: logo, stitching, outsole edge, insole, lining, and any special detail.
- Size photos: size label and measurement photos for selected sizes.
- Packaging photos: box, barcode label, tissue, hang tag, dust bag, and carton mark.
- Defect photos: clear images of any problem found, with notes on quantity and severity.
Good QC photos are not decoration. They are evidence for a decision: approve, repair, sort, replace, or hold shipment.
When should a buyer hold shipment?
Not every small defect should stop an order. But some problems deserve a serious pause.
- Wrong shoe style, color, material, logo, or size ratio.
- Repeated outsole separation or weak bonding.
- Large color difference across pairs or panels.
- Wrong barcode, SKU, size label, or carton mark.
- Strong smell, mold, damp packaging, or dirty product.
- High percentage of major defects in the inspected sample.
If the issue can be repaired, agree on the repair method and ask for follow-up photos. If it affects many pairs, sorting and reinspection may be needed before the goods leave.
How to write inspection feedback clearly
Inspection feedback should be short, calm, and specific. A factory can act faster when the buyer separates facts from feelings.
Issue 1: Glue overflow on outsole edge, found in 7 of 32 inspected pairs. Please clean and recheck all cartons before shipment.
Issue 2: Box label size mark for US 9 is wrong on two cartons. Please relabel and send updated carton photos.
Issue 3: Left and right color difference on brown leather pair is too visible. Please sort out similar pairs and report quantity.
This kind of feedback is easier to solve than "quality is bad." It tells the factory what happened, how often it happened, and what action is expected.
Use Buyer Portal to keep QC decisions in one thread
Quality approval often includes photos, comments, repair records, packing changes, and shipment timing. If these details are spread across separate messages, small decisions can get lost.
For Marcusius projects, buyers can use the Buyer Portal to keep inspection notes and attachments together. It works well for first orders, private label projects, and follow-up changes after sampling. If your request is still early, start with the contact form or read how to send a clearer shoe manufacturing inquiry.
Final pre-shipment checklist
- Approved sample and final specification are available.
- Finished shoes match style, color, material, size run, and logo requirements.
- Stitching, glue, sole bonding, shape, and finishing are checked.
- Size labels, box labels, barcode, SKU, and carton marks are correct.
- Packaging is clean, dry, strong, and suitable for shipment.
- QC photos are received and saved.
- Critical, major, and minor defects are separated clearly.
- Repair, sorting, replacement, or shipment approval is written down.
A good inspection is not about blaming the factory. It is about protecting the order before the cartons move. When buyer and factory use the same checklist, problems are easier to find, easier to fix, and less likely to surprise anyone after delivery.