
How to Specify Durable Leather Sneakers for Private Label Production
Part of: Private Label Shoe Manufacturing
To specify durable leather sneakers, define the complete shoe rather than asking for a “strong leather upper.” The exact upper and lining articles, reinforcement map, seam construction, flex zone, outsole compound and attachment route must work together. Approve those details on a finished sample, then control bulk materials and workmanship against that sealed reference.
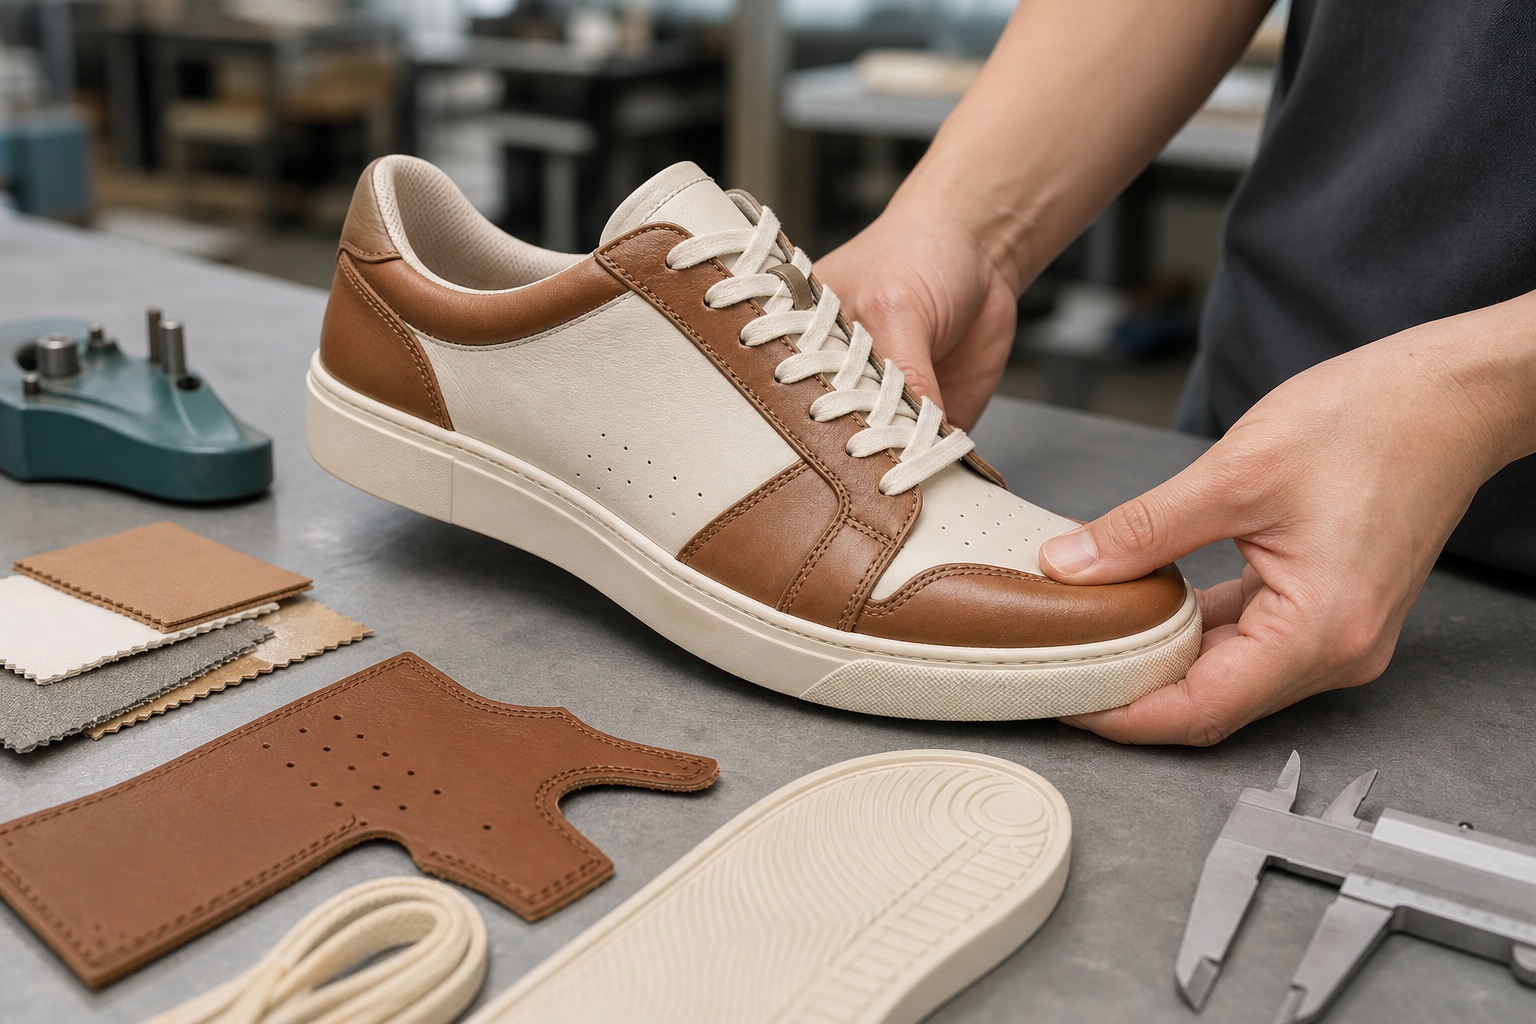
A thick upper can still crack at the flex line, a strong outsole can still separate from poor surface preparation, and extra reinforcement can create a stiff fit or a visible ridge. For a private label buyer, “durable” becomes useful only after it is translated into likely failure modes, material references, construction details and written acceptance criteria.
This guide was checked against current ISO information on July 22, 2026. A qualified laboratory or footwear technician should confirm the applicable method, specimen conditioning and pass/fail value for the intended use and destination market.
Start with how the sneaker will be used
A leather lifestyle sneaker for office and light city wear has a different risk profile from a shoe intended for long daily walking, wet streets or repeated abrasion. Record the wearer, environment, expected care, surfaces, climate and product claims before choosing materials. This does not predict an exact service life; it tells the developer where failure is most commercially damaging.
Keep the durability brief separate from universal comfort promises. Last shape, volume, grading, cushioning and flex can be assessed, but no single construction fits every wearer. The existing custom sneaker manufacturer guide covers the broader development path; this article focuses on the specification and controls that reduce premature wear.
Leather sneaker durability: what each system controls
| System | Useful specification | Failure to inspect | Buyer trade-off |
|---|---|---|---|
| Upper leather | Production article, substance range, finish, temper, color master and cut direction | Flex cracking, loose grain, scuffing, shade drift or finish transfer | More substance or coating can change weight, hand, breathability direction and flex |
| Lining and collar | Exact lining article, foam density direction, collar shape, seam position and sock construction | Abrasion, color transfer, bunching, exposed edges or foam collapse | A soft first feel does not prove long-term lining or collar performance |
| Reinforcement | Mapped toe, eye-stay, quarter, seam and lasting reinforcements with material codes | Eyelet pull-out, seam distortion, toe collapse or a hard ridge at the flex line | More reinforcement can increase stiffness and restrict the intended flex |
| Stitching | Seam type, allowance, thread, stitch density direction, back-tack and edge distance | Skipped stitches, perforation tear, seam opening or puckering | Dense stitching is not automatically stronger if it weakens the material edge |
| Sole package | Midsole and outsole articles, compound, thickness, tread, hardness direction and flex location | Abrasion, cut growth, bottoming, cracking or unstable heel contact | Abrasion, grip, weight, cushioning and flex must be balanced for the use case |
| Upper-to-sole attachment | Cemented, cupsole stitched, vulcanized or other route, with preparation and process controls | Toe lift, sidewall gaps, open bond edges, stitch damage or layer separation | Decorative stitching does not replace a suitable engineered attachment process |
The material family alone is not a performance specification. “Full-grain leather,” “rubber sole” or “mesh lining” can describe products with very different thickness, finish, construction and test behavior. Use the shoe material durability guide to compare families, then identify the actual supplier article used in the sample.
Map the flex zone before adding reinforcement
Put the fitting sample on the intended last and mark where the upper bends during walking. The main vamp flex should not be treated like the eye stay, toe shape or lasting margin. Reinforcement can help a seam or eyelet area hold its form, but an overly stiff layer across the flex line may create creasing, discomfort or a new stress concentration.
Record every reinforcement on a sectional drawing: material code, thickness direction, edge position, skive, adhesive and overlap. Check the inside with the sock removed where practical. A clean exterior can hide a ridge, folded lining or adhesive edge that becomes noticeable in wear.
Specify the outsole as a performance component
Choose the sole after defining the surface, weight, flex and appearance targets. Rubber, EVA, TPR, TPU and PU families each include many compounds and constructions; the family name does not establish abrasion, grip or ageing performance. The shoe outsole materials guide helps structure that selection.
Record the outsole supplier article, compound or grade reference, color, mass direction, thickness, tread, flex grooves, sidewall finish and attachment surface. If an existing tooling route is proposed, confirm which sizes it covers and whether the flex point matches the last. A sole that is durable in isolation can still perform poorly when it is too stiff for the upper or poorly bonded to the assembled shoe.
Use tests to answer a defined failure risk
ISO/TS 20952:2024 establishes performance requirements for upper components, not for finished footwear, and applies irrespective of upper material. That distinction matters: passing a material check does not confirm the complete sneaker.
For upper behavior, ISO 17694:2016 covers flex resistance of uppers and linings. ISO 17697:2016 includes methods for needle-perforation strength and stitched-seam strength. Select the question first: cracking at the vamp, damage around a perforated seam, or opening of the assembled seam.
For the bottom, ISO 20871:2018 determines outsole abrasion resistance. ISO 17708:2018 evaluates resistance to separation around applicable upper-outsole assemblies and defines ageing conditions that can be used for production control; its scope notes exclusions for attachments made by grindery or stitching. ISO 24266:2020 specifies two whole-shoe flexing methods and notes that their results might not be comparable.
These standards do not provide one universal durability promise for every sneaker. Agree the exact method, conditioning, locations, sample count, acceptance value and treatment of cosmetic versus structural change before testing.
Approve quality at three separate stages
1. Sample approval
Approve a fitting sample made with production-intent materials and the intended sole route. Check flex position, creasing, toe and heel shape, eyelet stress, seam comfort, collar rubbing, pair weight direction, outsole alignment and bond edge. Run a controlled wear trial with recorded wearer, size, surface, duration and observations; do not turn one wearer's result into a universal claim. Photograph the shoe before and after and keep swatches, a sole reference and the sealed sample together. Use the shoe sample approval workflow to close revisions before bulk release.
2. Bulk production control
Identify upper, lining, reinforcement, thread, adhesive and sole lots before cutting and assembly. Compare shade, hand and visible defects against approved references. During stitching and lasting, check seam allowance, edge distance, reinforcement position, toe and heel shape, roughing or priming coverage where applicable, adhesive control, pressing, sole alignment and cure conditions recorded for the selected process. Stop unapproved substitutions and document deviations by production lot.
3. Pre-shipment inspection
Inspect finished pairs from sampled cartons against the sealed sample and size specification. Check pair matching, flex-line appearance, loose grain, open seams, eyelets, skipped stitches, bond gaps, toe lift, sole alignment, rocking, heel stability, lining wrinkles, sock adhesion, labels and packaging. Record each defect with size, shoe side and exact location. A final inspection can find visible or sampled failures; it cannot replace process control for every pair.
What changes cost, MOQ and lead time?
Cost and MOQ are driven by the upper and lining supplier minimums, custom colors or finishes, reinforcement and foam articles, thread and hardware, sole tooling or size coverage, compound color, attachment process, number of sample rounds, laboratory scope, packaging and the expected rejection allowance. Small color splits can be constrained by a component supplier even when the total shoe quantity appears sufficient.
Ask for the minimum of the finished sneaker and each custom component separately. Also ask which materials are stock, which require a fresh production lot and who owns unused material. Lead time depends on material booking, last and sole readiness, sample corrections, testing and production scheduling; request a stage-by-stage quotation for the actual brief instead of assuming a fixed timetable.
Email-ready leather sneaker quotation checklist
Subject: Durable private label leather sneaker specification and quotation
- Sneaker type, intended wearer, use environment and destination market
- Reference photos from side, top, bottom and inside, plus design files
- Last reference, fitting size, size range, width and grading direction
- Upper leather supplier article, substance range, finish, color and physical master
- Lining, collar foam, sock and internal seam construction
- Reinforcement map for toe, eye stays, quarters, seams and lasting margin
- Seam type, thread, stitch density direction, allowance and edge distance
- Midsole and outsole supplier article, compound, thickness, tread and flex point
- Upper-to-sole construction and proposed preparation/process controls
- Logo locations and application methods without changing structural areas
- Expected quantity by color and size, plus reorder direction if known
- Likely failure risks, required methods and written acceptance criteria
- Sample stages, wear-trial plan and sealed-reference requirements
- Component MOQ, tooling, testing, packaging and stage-by-stage timing questions
Ask the supplier to answer line by line with the proposed production articles, open decisions, substitutions, component minimums and any detail that needs a physical sample before the quotation can be firm.
What to send us
Send the sneaker reference, intended use, destination market, last or fit direction, size range, upper and lining choices, reinforcement map if available, outsole direction, construction, branding, expected quantity, test needs and current sample stage. If durability is the priority, name the failure you most need to prevent rather than using only the word “durable.”
Use the contact form for an initial specification and quotation brief. If the project includes tech packs, last files, sole drawings, material reports or several sample revisions, open a thread in the Buyer Portal so approvals and changes stay attached to one sourcing discussion.
To turn these notes into a clearer buying brief, continue with custom sneaker options.